How to Create a Mystery Picnic
A well-executed mystery picnic runs on preparation. Every stop, clue, and snack should be mapped out before the day begins. The goal is to create a seamless experience where each detail feels intentional, not improvised.
Start by selecting a location with clear landmarks or open space. Plan the route step by step, decide where clues will go, and choose the final picnic spot. Once that’s in place, pack food that travels well, sort your gear by category, and label everything so it’s easy to find.
When the structure is tight, the experience feels relaxed—even with surprises built in.
Pick a format that sets the pace
Before writing clues or prepping food, decide how the picnic will unfold. The format shapes everything—from the walking distance to how long the group stays engaged.
Choosing the proper structure helps keep the event smooth, fun, and easy to follow, especially if you’re coordinating more than one person.
Each of the options below offers a different experience. Select one that suits your location, the size of your group, and the level of movement you prefer to include.
One-stop destination
In this version, all clues lead to a single final location—usually a secluded picnic spot that stays hidden until the end. It’s simple to execute but still delivers a strong sense of surprise. You don’t need multiple stops or activities, just one memorable reveal.
- Best for: romantic dates, proposals, birthdays, or quiet getaways
- Setup: carry everything with you or stash it nearby (in your car, a locker, or with a friend)
- Clues: use one or two short hints that build anticipation without creating detours
- Tip: test the final spot ahead of time for privacy, seating, and weather protection
A one-stop mystery picnic is perfect if you want minimal walking or you’re working with a tight timeline.
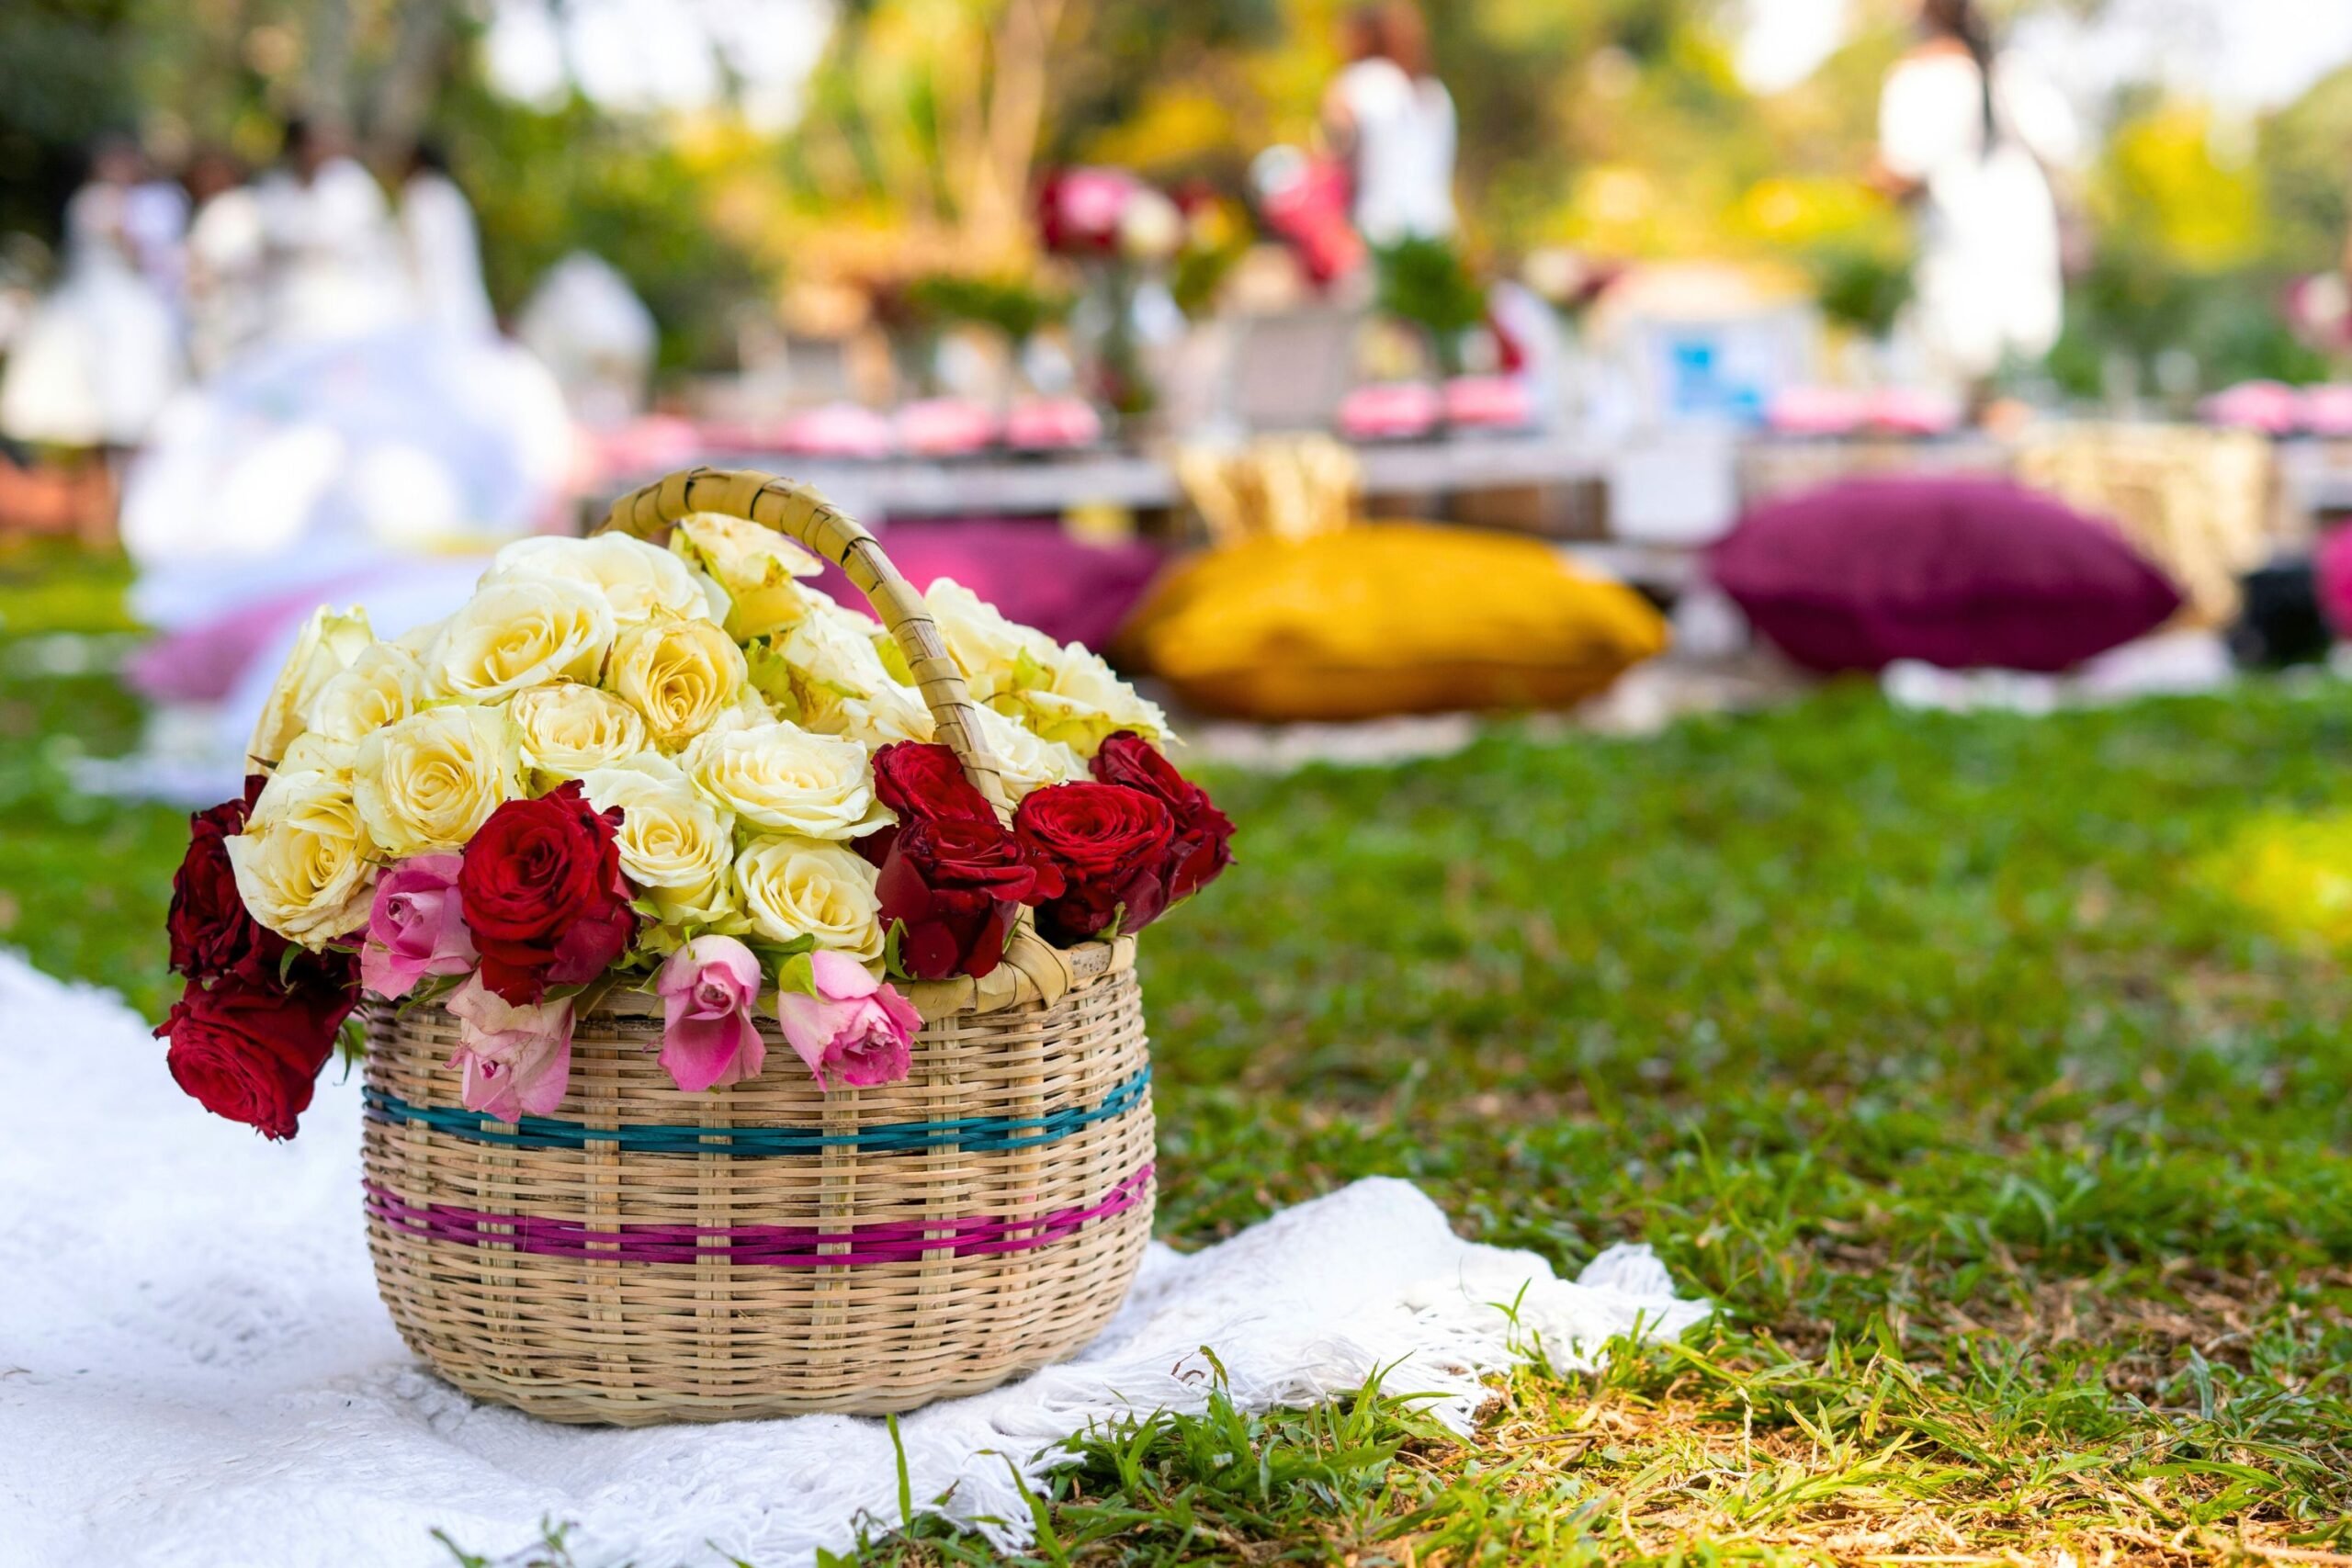
It also gives you complete control over the presentation—ideal if you’ve planned something visual like flowers, a charcuterie board, or a printed menu.
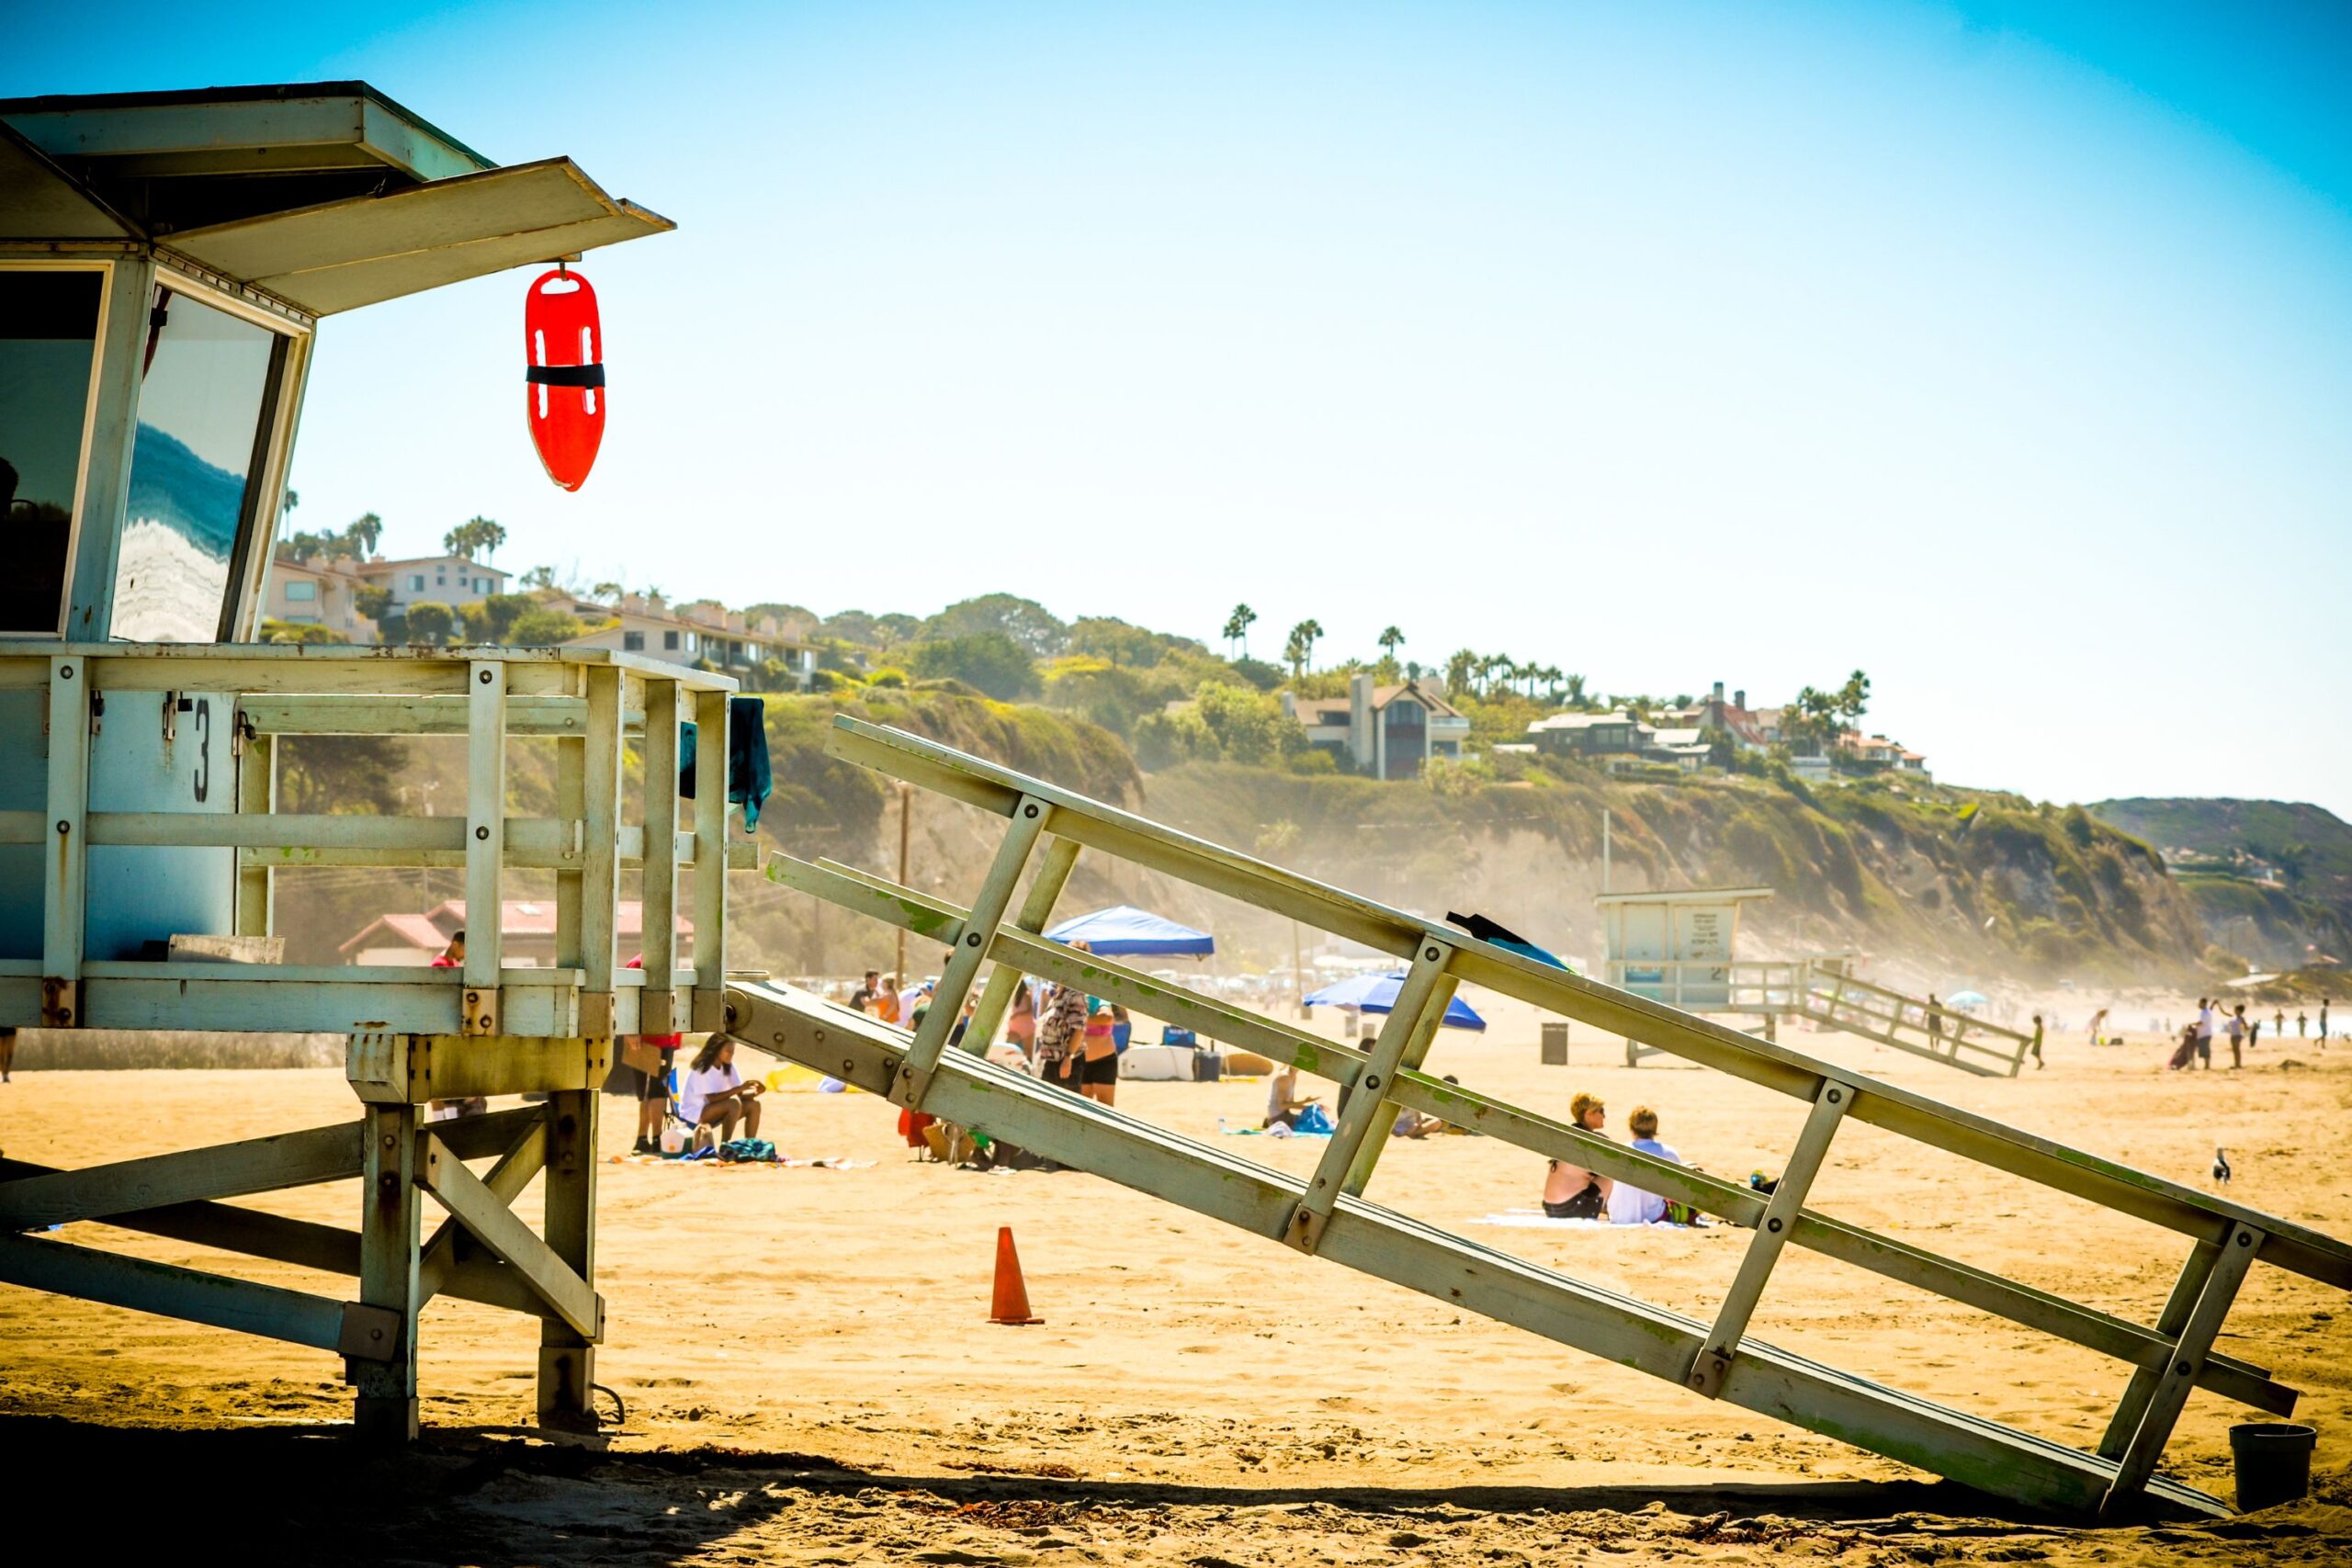
Multi-stop clue route
This format adds movement and surprise by guiding guests through a short sequence of locations before they reach the picnic.
At each stop, they receive a clue, small treat, or piece of the final message. It’s interactive, easy to scale, and works well in walkable areas with clear landmarks.
- Best for: small friend groups, family outings, or casual team-building days
- Route: plan 3 to 5 stops that are safe, accessible, and not more than 10 minutes apart
- Ideas for stops: a mural, a local café, a shaded bench, a sculpture, or a quiet alley with a marker
Each stop should feel intentional—not just a pause, but part of the experience. Consider handing out a mini snack, a themed item (like a flower or photo), or a card that reveals part of the final destination.
The walk becomes part of the story, with small payoffs that build momentum.
Tip: use printed clues or sealed envelopes for each stop and carry extras in case one goes missing.
Avoid routes that require street crossings or crowded intersections, especially if you’re planning for kids or older guests.
Station-based in one park
This format keeps everything contained within one large, open area, such as a park, botanical garden, or outdoor event space.
Instead of traveling between locations, guests follow a series of clues or mini tasks within the same space, moving between trees, benches, or pathways until they reach the final picnic spot.
- Best for: kids’ parties, organizing group picnics, low-mobility guests, or time-limited gatherings
- Setup: create 3 to 6 mini stations using visible park features—shade trees, signposts, sculptures, picnic tables, or flower beds
- Walking: minimal—guests stay within a defined area, reducing the need for route maps or directional signs
This setup is easy to manage and allows for flexibility. You can include physical activities (like hopscotch or nature scavenger hunts), simple puzzles, or small treats at each stop.
It also works well for events with staggered arrivals, as guests can start the clue trail as they arrive.
Tip: mark each station subtly using colored ribbon, number tags, or symbols that match the clue theme.
Keep everything weather-safe and avoid areas with heavy foot traffic to prevent disruptions to your stations.
Write clues that are fast to read and simple to solve
Clues should move the picnic forward—not slow it down. Keep the language short, direct, and linked to the surroundings. You’re not writing a puzzle book. A mystery picnic works best when each clue builds anticipation without causing delays or confusion.
Avoid abstract riddles or overly clever wordplay. Guests should be able to glance at a clue and begin moving immediately. Think visual cues, recognizable features, and clear instructions.
Direct clues
Use landmarks, colors, or basic shapes to guide the group. These are ideal for parks, neighborhoods, or city streets where the surroundings are easily described.
Example:
“Walk toward the biggest tree by the playground. Check behind the third bench.”
Tip: test your clues by walking the route yourself. Read the clue and see if it leads you there with no extra guessing.
Visual hints
Take close-up photos of distinct textures, shapes, or signs in the area. These make great low-effort clues and are especially effective for visual learners or children.
Example:
A zoomed-in photo of a mosaic tile, tree bark, or metal sculpture.
Tip: print the photos or send them by text at each stop. Ensure the detail is clear enough to be recognized in context.
Fragment clues
Give one part of a larger message or map at each station. Once all parts are collected, they combine to reveal the final location. This adds a light puzzle element without being overwhelming.
- Use pre-numbered cards or sealed envelopes
- Keep the pieces small and flat (index card size works well)
- Store extras in your bag in case one gets misplaced
Tip: at the final stop, let the group piece everything together before revealing the picnic setup. It gives a natural pause and adds a sense of completion.
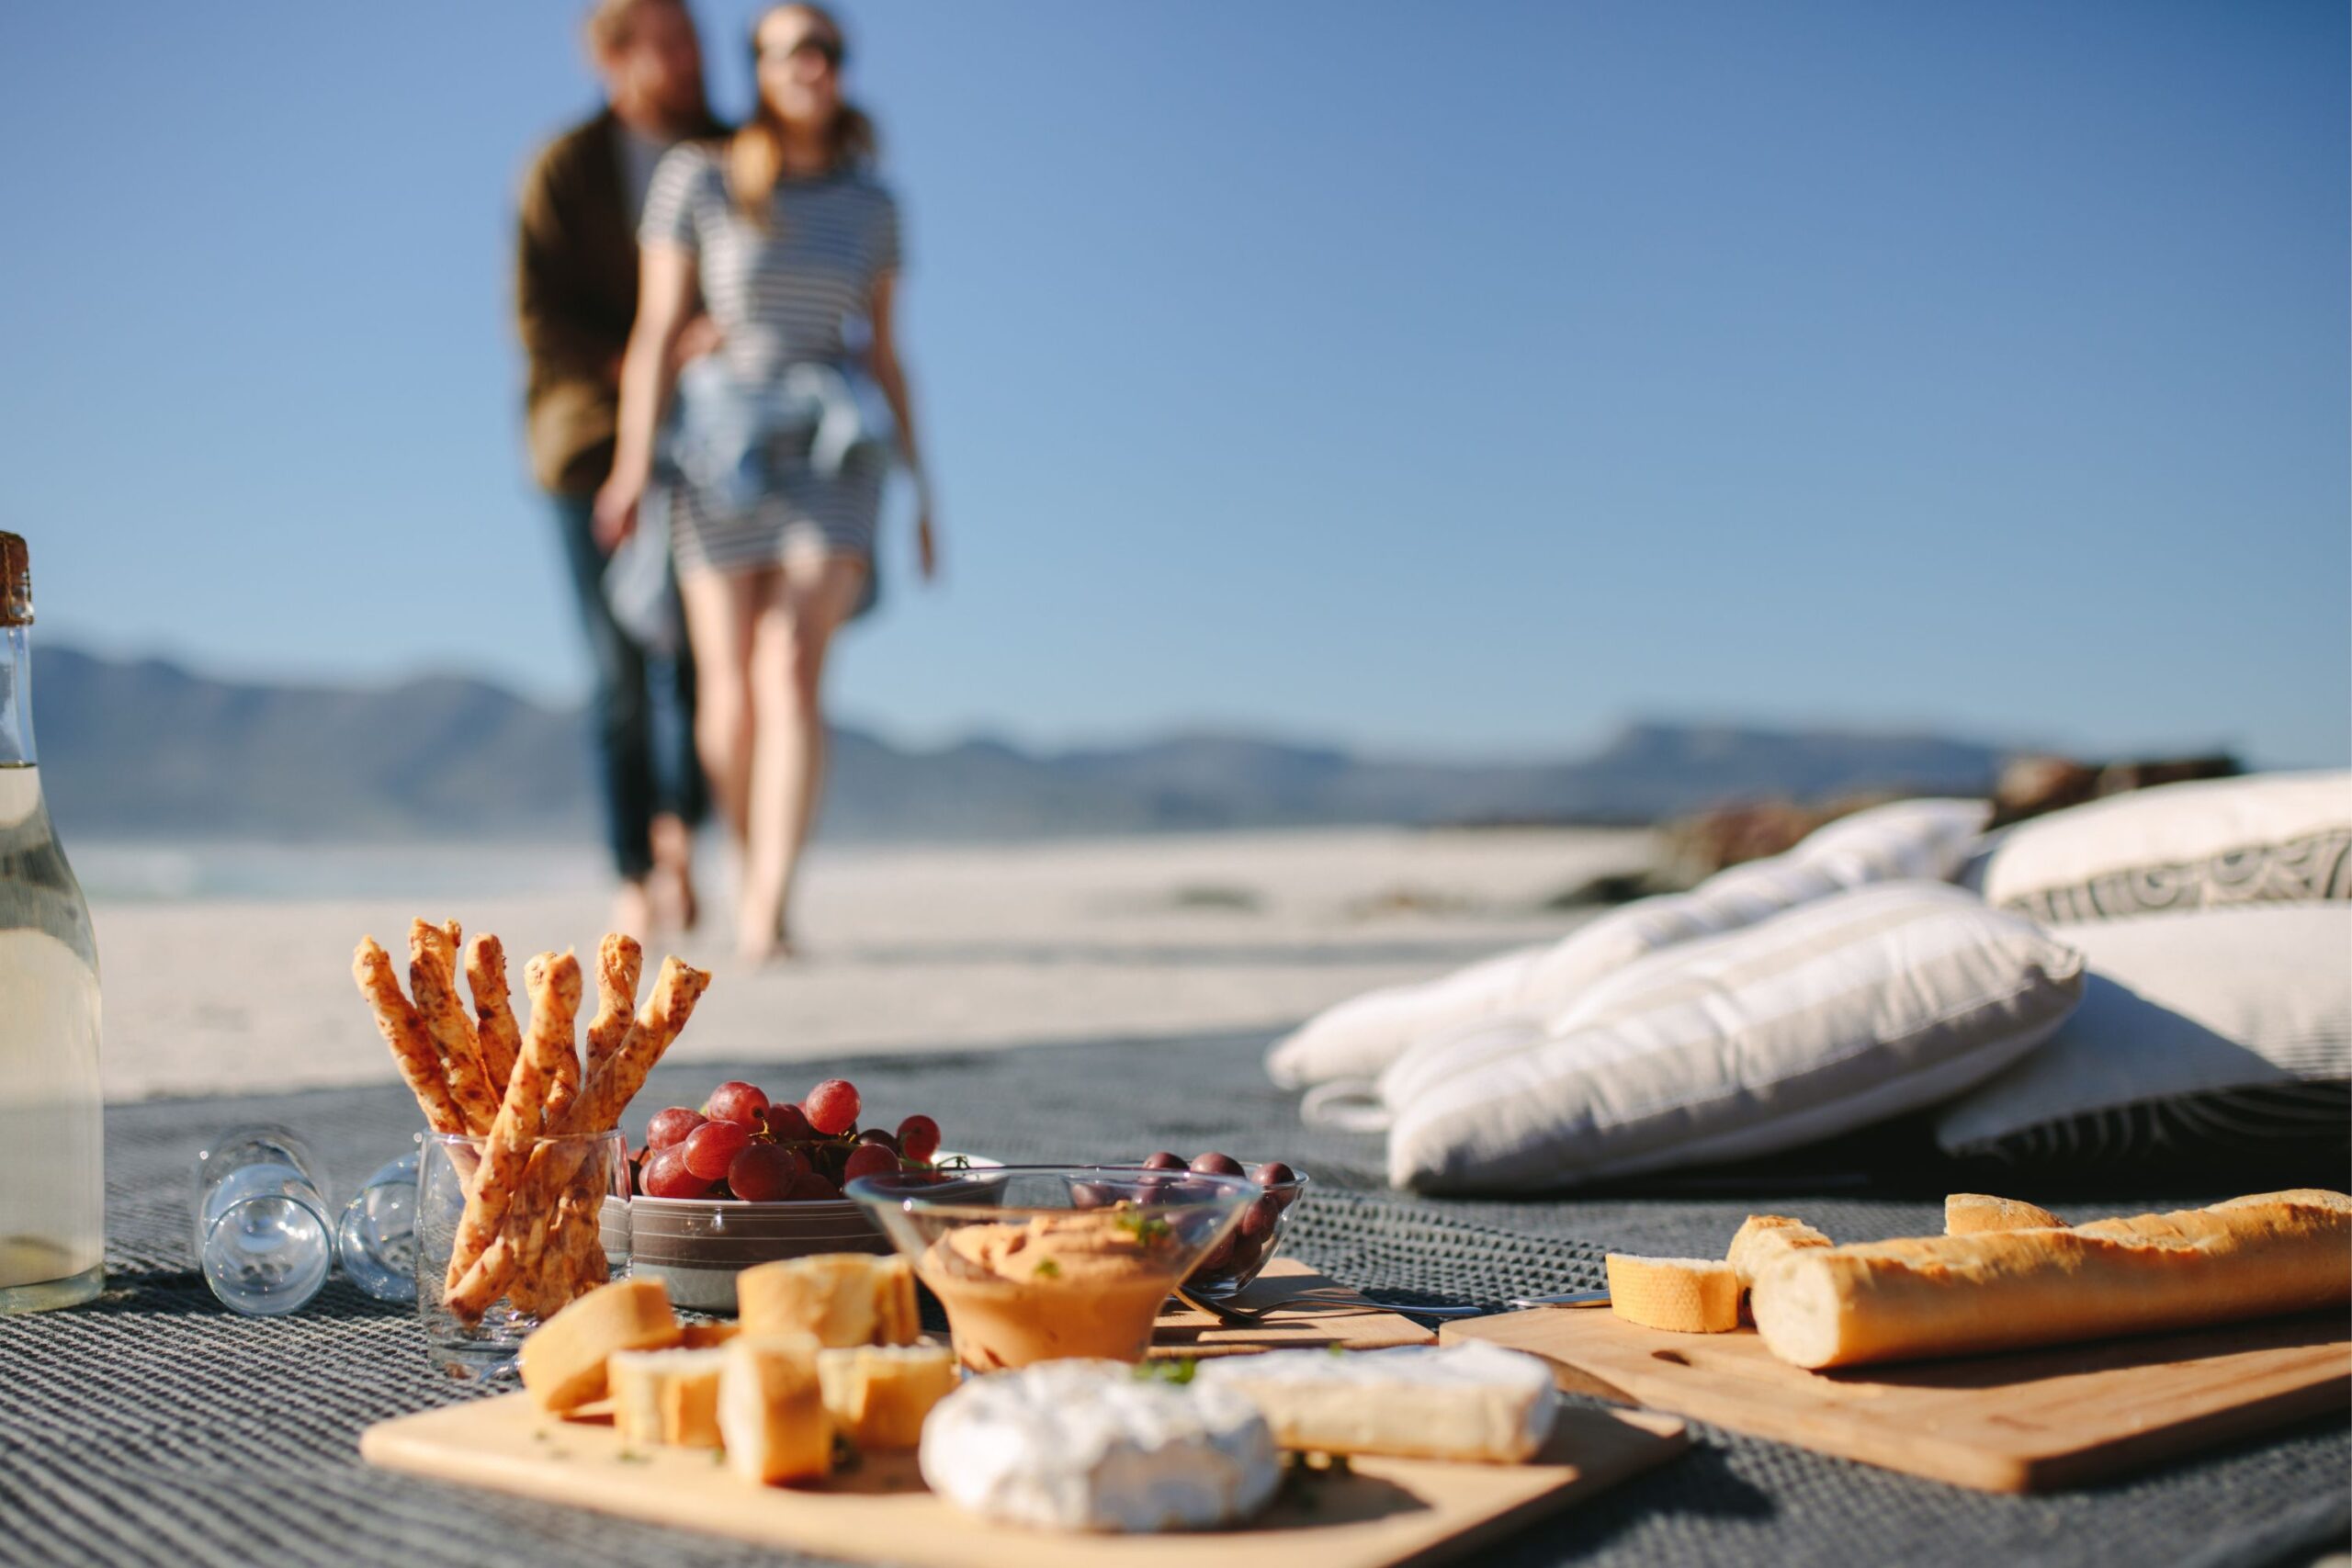
Food must be mobile, compact, and sealed
Everything you pack for a picnic should match the pace of your picnic. If guests are walking, solving clues, or stopping briefly between locations, bulky dishes or unpackaged items will slow things down. Choose foods that are easy to carry, pre-portioned, and ready to eat without fuss.
Avoid anything that needs utensils, refrigeration, or last-minute prep. Instead, aim for a combination of savory, sweet, and refreshing options that hold up well on the go.
Savory wraps
Wraps are reliable, filling, and easy to eat with one hand. Use pita, tortillas, or croissants filled with ingredients that won’t leak or wilt. Think roasted vegetables, firm cheese, grilled chicken, or hummus.
- Avoid lettuce-heavy fillings or sauces that separate in heat
- Wrap tightly in parchment or beeswax paper and secure with twine, foil, or elastic
Transport tip: stack wraps in a shallow container lined with a clean cloth or paper towel. Add another layer between each wrap to keep them from sticking or getting crushed.
Packable fruit
Stick with fruit that travels well without refrigeration. Whole apples, seedless grapes, tangerines, and peeled orange slices all stay fresh in warm weather and don’t require prep at the picnic spot.
- Avoid soft fruits like berries or sliced melon, which bruise and leak easily
- Pack each portion in its own reusable pouch or compostable bag
Transport tip: chill the fruit the night before and use a frozen bottle of water or juice in the bag to keep everything cool for hours.
Sealed drinks
Use bottles or cans that are easy to open, reseal, and store upright. Sparkling water, flavored iced tea, lemonade, or fruit juice are good choices—hydrating and light. Avoid sugary sodas or creamy drinks that may spoil in the heat.
- Choose aluminum or plastic only—skip glass for safety
- Label each drink if you’ve pre-packed custom options
Transport tip: pack drinks upright in the center of your bag, between soft items like blankets or napkins, to prevent shifting. If you’re carrying a lot, use a small cooler backpack with ice packs.
Bite-size desserts
Keep dessert small, clean, and stable. Pick treats that won’t melt, smear, or get sticky in the sun. Shortbread cookies, biscotti, brownie bites, or mini muffins are all great choices.
- Avoid anything with icing, fillings, or chocolate coatings unless it’s a cool-weather day
- Wrap each portion or group of items in wax paper or place in silicone cups
Transport tip: use a small lunchbox-style container lined with wax paper or a tea towel. This helps prevent crumbling and keeps sweets in shape, even if the container tips slightly.
Pack gear by category, not by person
The easiest way to stay organized during a mystery picnic is to sort supplies by function—not by who carries them.
This keeps the setup flexible and avoids confusion during setup or transitions. Anyone should be able to grab what’s needed without digging through personal items or guessing where things are.
Group your essentials into clear categories and pack each group in its own soft, flexible container. This makes it easier to balance weight across bags and find things quickly when it’s time to unpack.
Backpack 1: Food and drinks
Use this for anything edible or temperature-sensitive. Pre-packed wraps, fruit, snacks, and sealed beverages should be grouped and stored with care.
- Use a soft-sided cooler or insulated tote
- Line the inside with a cloth or towel to absorb moisture and prevent leaks
- Stack containers flat and avoid overpacking to prevent squishing food
Backpack 2: Comfort and cleanup
Pack everything needed for sitting, serving, and keeping things clean. This includes picnic blankets, utensils, napkins, wet wipes, and paper towels.
- Roll blankets and place along the back or bottom for structure
- Keep cutlery and napkins in one pouch for quick access
- Use leakproof zip bags for wipes or damp cloths
Small pouch: Clues and extras
Keep all your mystery picnic materials organized and ready. Use a separate pouch or folder for the clue cards, props, and any backup items.
- Number clues clearly and stack them in order
- Include extras in case one is damaged or misplaced
- Add pens, tape, clips, or markers if your clues require interaction
Optional but useful items
These don’t need to be front-and-center but are good to have on hand:
- Bug spray or citronella wipes
- Hand sanitizer
- Small trash bags for cleanup
- Sunscreen, especially for midday setups
Transport tip: Use soft, lightweight bags that conform to the contents. Rigid containers waste space and can be hard to carry on uneven ground. Layer soft items (like cloth or napkins) between breakables or stackables to create built-in padding.
Mystery Picnic Setup Checklist
Route Format
☐ Choose your format: one-stop reveal, multi-stop walk, or park-based stations
☐ Walk the full route in advance to confirm flow and access
☐ Time walking distance between each stop (keep it under 10 minutes)
Clues
☐ Write 3–5 clear, easy-to-follow clues with simple instructions
☐ Use cards or envelopes—label and number them in order
☐ Optional: add visual clues, photos, or puzzle pieces for variety
Food + Drink
☐ Pre-make wraps, prep firm fruit, and pack drinks with secure lids
☐ Include a small dessert that travels well and doesn’t melt
☐ Use ice packs or frozen bottles to keep items cool if needed
Gear
☐ Bring a soft, foldable blanket or picnic mat
☐ Pack napkins, wet wipes, and a trash bag for easy cleanup
☐ Add reusable utensils or serving tools (only if necessary)
☐ Include sunscreen and bug spray for sunny or grassy areas
Extras
☐ Carry a full backup copy of all clues in a separate pouch
☐ Bring extra pens, tape, binder clips, or string for last-minute fixes
☐ Charge your phone in advance or carry a power bank for directions, photos, or digital clues
FAQs
How many clues should I use?
Three to five clues are enough. More than that can feel repetitive unless each stop adds a clear experience or food item.
What if I can’t hide clues ahead of time?
Carry everything with you and hand out clues during the walk. This works well in urban areas or parks with lots of foot traffic.
Can I plan a mystery picnic last-minute?
Yes—if you stay in one park or use public landmarks. Keep clues simple and bring a ready-made meal to cut down on prep time.
How do I choose good locations for each clue?
Pick places that are easy to recognize but not overly crowded—like a colorful bench, small sculpture, or shaded tree with a clear marker nearby.
Can I involve local businesses in my picnic route?
Yes. Coordinate with a small café, bakery, or flower shop to pick up a pre-ordered item at one of the stops. Just be sure to schedule timing carefully.
What should I do if it starts to rain?
Have a backup plan ready. Choose a location with covered areas, or keep a pop-up tent or umbrella in your gear bag for added protection. You can also pivot to a car-based picnic if needed.
How early should I set up the final picnic spot?
Arrive 30–60 minutes ahead if you’re setting up a layout in advance. Use a friend or helper to keep it safe and attended if it’s in a public space.
Can I plan a mystery picnic with kids under 6?
Yes—but keep the route very short and visual. Use photo clues or color-coded markers. Include snacks or small surprises at each stop to keep them engaged.
How do I include a surprise gift in the picnic?
Wrap it in one of the clue envelopes, or hide it at the final destination with a labeled tag. Choose lightweight items that can be carried discreetly.
Should I include seating or keep it on the ground?
Either works—just choose based on the group’s comfort level. A picnic blanket with floor cushions works well, or you can bring foldable chairs for longer events.
What if I’m planning for someone who doesn’t like surprises?
Let them know it’s a picnic with “light clue stops” rather than calling it a full mystery. Keep it fun and straightforward—more interactive than secretive.
Is a mystery picnic suitable for a group date or double date?
Definitely, use team-based clues or alternate turns solving them. Add a social element by including a trivia question or memory-sharing prompt at each stop.
Can I plan a mystery picnic for just myself?
Yes—it can be a form of self-care. Prepare clues that guide you to your favorite places, snacks, or journal prompts, culminating in a peaceful solo picnic spot.
What’s the best way to keep track of timing?
Use your phone to stay up-to-date on the schedule. Plan 5–10 minutes per stop and 30–60 minutes for the meal. Pad in a bit of buffer time in case of delays.
Can I use an app or website to send digital clues?
Yes. Google Docs, Instagram stories, WhatsApp, or scavenger hunt apps work well. Just test them ahead to ensure they’re easily accessible in your chosen area.
How do I take photos without revealing the final location?
Focus on textures, shapes, or partial views—like a tree trunk, a fence detail, or a mural close-up. Avoid wide shots or anything with identifying signage.
How do I keep food fresh without a cooler?
Use frozen water bottles, chilled fruit, and insulated wraps. Pack items in soft bags and keep them out of direct sunlight.
What’s the best time of day for a mystery picnic?
Late morning or early evening works best. Avoid peak sun hours. Always check the weather before heading out.